You have a useful checklist, a short explanation or a presentation that deserves more than a passing mention. Uploading the file is the easy part. Turning it into something a person can read without a presenter standing beside it takes a little more thought.
A good document post has a clear job. It helps someone understand a sequence, compare a few choices or keep a practical reference. It doesn't need to contain everything you know about the subject.
This tutorial walks through preparing the pages, sharing the PDF and checking the published result. It focuses on a regular document post from your personal profile, rather than paid document advertising. Platform instructions were checked against LinkedIn's Help Center on 15 November 2026.
What you're making
A PDF document post is a post with a document attached. Readers often call a sequence of designed pages a carousel, but the publishing option you're looking for is a document upload. That distinction is useful when a tutorial tells you to find a button that isn't labelled “carousel.”
Choose this format when the order of the pages does some work. A checklist can move from preparation to review. A short lesson can introduce a problem, explain a decision and finish with an example. If the pages are interchangeable, a simpler post may do the job just as well.
Our LinkedIn posts-versus-articles guide can help if your idea still needs a format decision. Don't split a perfectly readable paragraph across ten pages just because a template has ten spaces to fill.
The editorial goal here is modest: produce one useful, readable document and a post that explains why someone might want it. Nothing about the format guarantees attention or business results.
Before you start
Gather the source material, permission to use it, an editable working file and a final PDF export. Keep the editable file separate so you can make corrections without rebuilding the design.
Decide who you're writing for and what they should be able to do afterwards. “People interested in marketing” is too broad to guide the pages. “A small business owner preparing their first customer interview” gives you a much clearer editing brief.
Also decide what must stay out. An internal presentation may contain client names, unpublished figures, comments or screenshots that don't belong in a public resource. Inspect every page, including appendices and speaker-note exports, before sharing it.
LinkedIn's document-upload guidance accepts PDF, PPT, PPTX, DOC and DOCX, with limits of 100 MB and 300 pages. It recommends PDF for upload quality. Use those as technical boundaries, not targets: a short lesson rarely needs anything close to the maximum.
Step 1: Give the document one practical job
Write a one-sentence brief before opening a design tool: “This document helps this reader make this decision.” If the sentence contains three unrelated decisions, narrow it.
For an explicitly hypothetical example, imagine a consultant preparing a customer-interview checklist. The useful job is helping a founder prepare questions for one conversation. It isn't explaining customer research, product strategy and sales positioning in one miniature deck.
Now write a rough page outline. A sensible sequence could be a cover, preparation, questions to avoid, questions to try and a final review. This is an editorial example, not a recommended page count for every post.
Test the outline aloud. Does each page follow naturally from the previous one? Does the reader get the promised answer before the ending? If a page exists only to tease the next page, consider removing it.
A reader shouldn't have to finish an elaborate introduction before discovering what the document is for. Put the useful subject on the cover and begin delivering on it promptly.
Step 2: Write the pages before polishing them
Start with plain text. Give each page a meaningful heading and the smallest amount of explanation needed to make that point understandable. Short doesn't mean cryptic: a heading and three unexplained nouns may look clean while teaching very little.
Write for a reader who won't hear you presenting. Replace “as discussed earlier” with the missing context. Define an unfamiliar abbreviation the first time it appears. Make a comparison explicit instead of relying on an arrow whose meaning only you know.
For the hypothetical interview guide, a page called “Avoid leading questions” needs more than a warning. Show the difference between a question that suggests an answer and one that leaves room for the person's experience. Label the exchange as hypothetical; don't make it look like a real customer quotation.
Keep supporting detail close to the claim it explains. A source note should identify the source clearly enough to find, and a qualification should not be hidden in microscopic text at the bottom of another page.
Then remove anything the reader doesn't need for this task. Cutting a paragraph is often more helpful than shrinking its font. You can preserve the removed material for a later article, conversation or separate resource.
Step 3: Design for a small screen
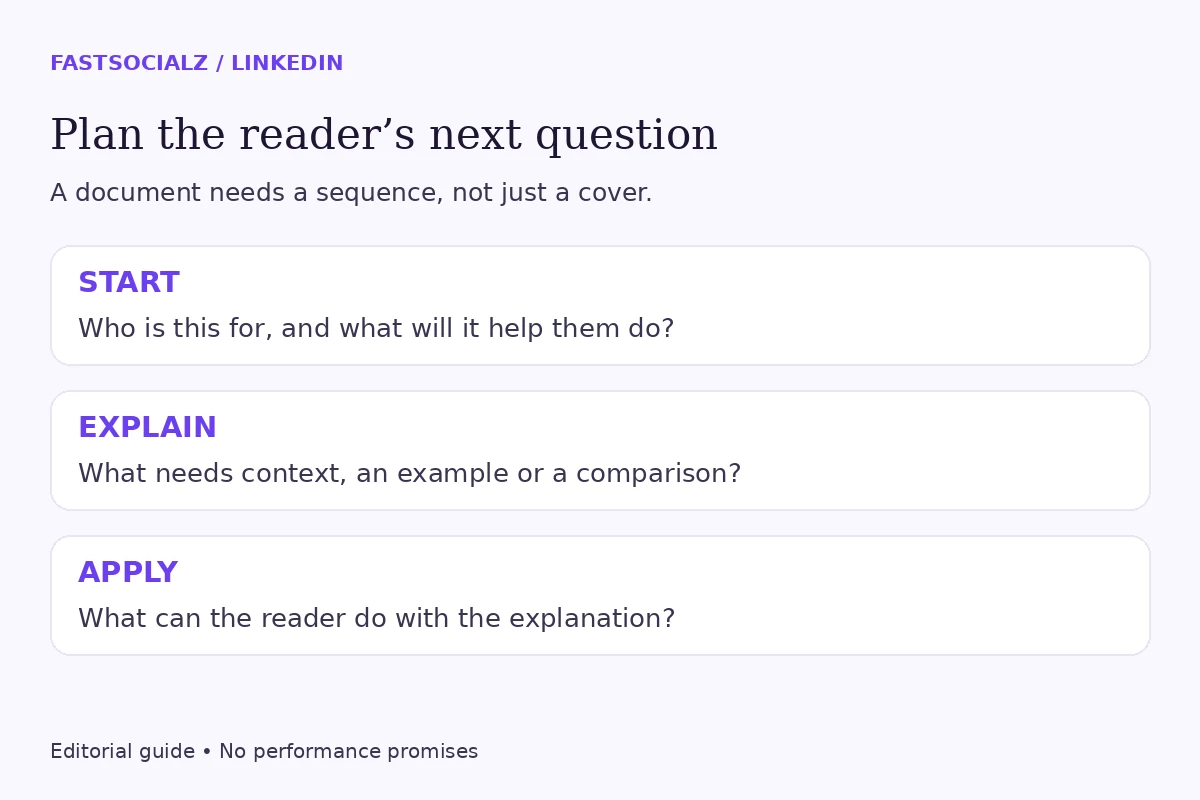
Use a consistent page size and a simple hierarchy: heading, explanation and, where useful, one illustration. Allow enough empty space around each element that the reader can tell what belongs together.
Choose contrast for readability rather than decoration. Dark text on a pale background is a dependable starting point. If colour indicates categories, add labels as well so the meaning doesn't depend on colour alone.
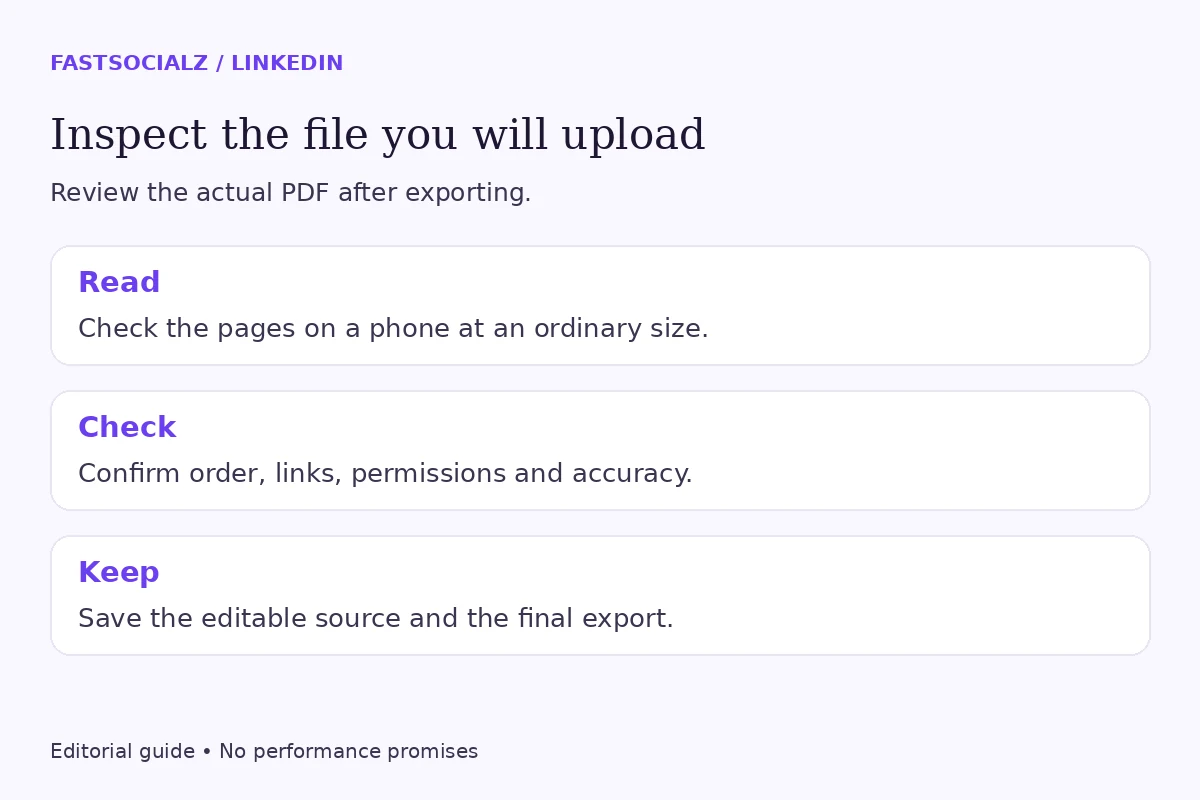
Open the exported pages on your phone at an ordinary reading size. Can you understand the heading and main message without repeatedly zooming? If not, simplify the page. There is no need to invent a universal “best” font size when the real test is your actual exported file on a small screen.
Use live, selectable text where your authoring tool supports it, and give charts or pictures a clear textual explanation. A screenshot of a paragraph is usually a poor substitute for a readable paragraph. Keep a plain-language summary in the accompanying post too.
FastSocialz team tip: Ask someone to read the pages without your explanation. Watch where they pause or ask what a label means. Revise that point before adding more visual polish.
Step 4: Export and inspect the actual PDF
A design canvas and an exported document are different things. Open the final PDF itself, go through every page and check the sequence, line breaks, links and missing characters. Don't approve the export because the editable version looked good.
LinkedIn advises consistent page sizes, flattened or merged PDF layers and secure hyperlinks. Embedded video and animation become static imagery in uploaded documents. If movement is essential to the lesson, rewrite that explanation for still pages or choose another format.
Give the file a descriptive name you can recognise during upload. Keep version numbers in your working files so you don't accidentally publish yesterday's draft. You can use a clean public filename for the final export.
Try this compact review before leaving your design tool:
| Check | What to inspect |
|---|---|
| Promise | Does the cover describe what the document actually teaches? |
| Sequence | Does the explanation make sense without a presenter? |
| Reading | Is the body text comfortable on a phone? |
| Accuracy | Are names, links, examples and qualifications correct? |
| Permissions | Is every included detail appropriate to share? |
| Export | Are all pages present, in order and visually intact? |
This is a quality check, not a performance prediction. A technically valid PDF can still be hard to use, and a beautiful cover cannot rescue an unclear explanation.
Step 5: Upload the file and introduce it
On desktop, start a post, open More and select Add a document. Choose the file, enter a document title and select Done. Add your accompanying post text, review it and publish when ready. On mobile, start with Post, then More and Document; select the file, add a title and proceed with Next before the post text and publishing step.
Keep the title descriptive. The opening of the post can name the reader's situation, explain what the document contains and say how to use it. It doesn't need to repeat every page.
For example, an explicitly hypothetical introduction might say: “Preparing your first customer interview? This checklist helps you separate preparation, neutral questions and follow-up notes. Use it to review your draft questions before the conversation.” It describes a resource without inventing an outcome.
Before publishing, review the selected audience and account identity in the composer. Don't assume the destination is correct because you were looking at the right profile a moment earlier. Read the post and title together: do they make the same promise?
Avoid a closing instruction that asks for several unrelated actions. A specific question about the subject is easier to answer than a demand to react, share, follow, comment and book a call all at once.
Step 6: Check what a reader receives
Open the published document and look through the pages again. Confirm the correct file, complete page order, readable preview and working links. Copy the post URL into your content record along with the filename and publication date.
LinkedIn says people who can view the post can download its document as a PDF. Treat the file as a shareable resource, not as a place to hide confidential information behind a small preview.
Don't turn a successful upload into a claim that the content worked. First establish that the resource is usable. Later, review what questions readers ask and whether the document needs a clearer explanation.
If analytics totals look inconsistent, use our LinkedIn analytics comparison checklist before drawing conclusions. Keep the reporting scope and observation time beside the numbers rather than attributing every difference to the format.
A hypothetical five-page example
Here is a compact editorial plan for that customer-interview resource. It is entirely hypothetical, with no customer findings or claimed results.
| Page | Reader's question | Useful content |
|---|---|---|
| Cover | Is this for me? | First customer interview: a preparation checklist |
| Prepare | What do I need beforehand? | One learning goal and relevant background notes |
| Avoid | What could bias the conversation? | An explanation of leading questions |
| Ask | What can I ask instead? | A neutral question with context |
| Review | What should I do with my notes? | Separate observations from assumptions |
The sequence works because each page answers the next practical question. It isn't a formula to reuse unchanged for every subject. A comparison or reference sheet might need a different structure.
If this subject becomes a continuing series, you could later develop a LinkedIn newsletter. That is a separate publishing decision; a single useful PDF doesn't obligate you to maintain a recurring publication.
What usually goes wrong
The file won't upload
Start with the file rather than guessing about your account. LinkedIn's document FAQ directs users to check the format, size, page count and title. It also confirms that a post can contain only one document. Compare the actual export with those requirements, then retry a corrected file.
If the basic checks pass and the failure persists, keep the error message and file details for support. Don't label an upload error an account restriction without evidence.
The pages are technically readable but exhausting
This often calls for editing, not a new colour scheme. Split a dense explanation into meaningful parts, remove repetition and replace decorative elements that compete with the text. Preserve the detail that makes the advice useful.
A page should feel complete enough to understand, while still belonging to the overall sequence. Avoid turning every sentence into a separate page just to create movement.
You notice an error after publication
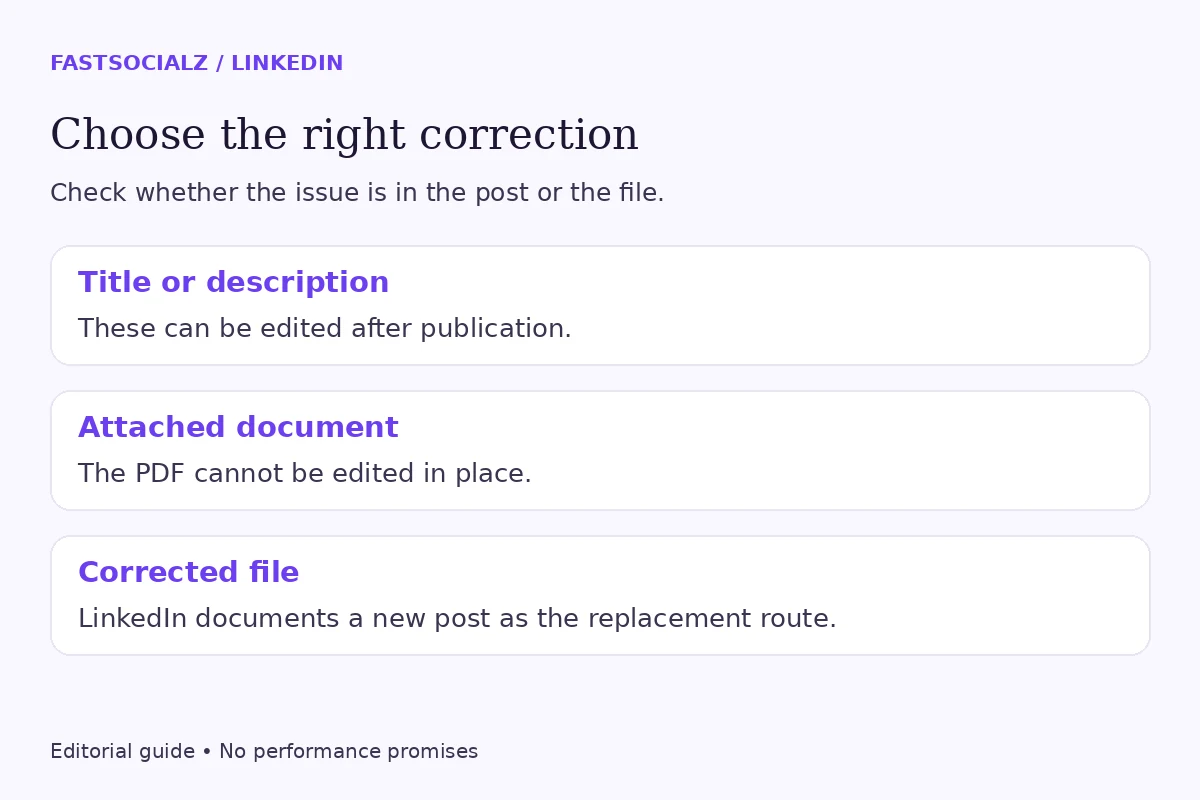
LinkedIn lets you edit the document title and description, but not replace or edit the attached document within that post. Its documented correction route is to delete the post and create a new one with the updated file.
Decide deliberately before removing anything. Save the original URL and your correction notes, and consider whether people who used the earlier resource need a clear explanation. Don't silently suggest that an updated file was always the one you shared.
Your final publishing checklist
- One defined reader and one useful task.
- A cover that accurately describes the contents.
- Pages that make sense without spoken commentary.
- A phone-size readability check on the exported PDF.
- Accurate sources, permissions and links.
- The correct file, document title, account and audience.
- A published-page review and a saved source file for later corrections.
If you're also reviewing your wider professional presence, explore FastSocialz's LinkedIn growth service. Keep that choice separate from the quality of this resource: a service cannot replace a useful explanation or promise a business outcome.
Frequently asked questions
Is a PDF document post the same as a LinkedIn article?
No. Here you're attaching a file to a post. Choose an article when you want to write and structure the explanation as an article instead.
Do I need a long document?
No. Use enough pages to complete the reader's task. The hypothetical five-page example is an editorial illustration, not a required or optimal length.
Can I upload several PDFs in one post?
LinkedIn's document FAQ permits one document per post. If several files belong together, decide whether a single coherent resource would serve the reader better.
Can I fix the PDF without replacing the post?
You can't edit the attached document in place. Proofreading the exported file before publication is therefore especially worthwhile.
Make something worth opening
A useful document starts with a clear explanation, not a template. Give the reader a specific job they can complete, make the pages comfortable to read and inspect the file you actually publish.
Once that works, you can improve the next resource using the questions this one raises. You don't need a complicated design system to begin; you need a document that makes sense when you're not there to explain it.
Written by the FastSocialz Editorial Team. Platform instructions were checked on 15 November 2026. Design and workflow recommendations are editorial guidance, not original campaign findings.